
Looking for a cute DIY garland idea to brighten up and decorate your space? This post is all about the easiest DIY garland craft to decorate your room or office while sticking to your budget!
Whether you’re looking to decorate your office, or your room, it can be tricky to decorate while sticking to a budget. I absolutely love finding DIY craft ideas that can help me transform my room while staying in line with my budget.
While decorating and revamping my entire office, I found this super simple and cute diy garland idea. I absolutely love how easy and fun this tassel garland makes my office room. It
How To Create A DIY Garland
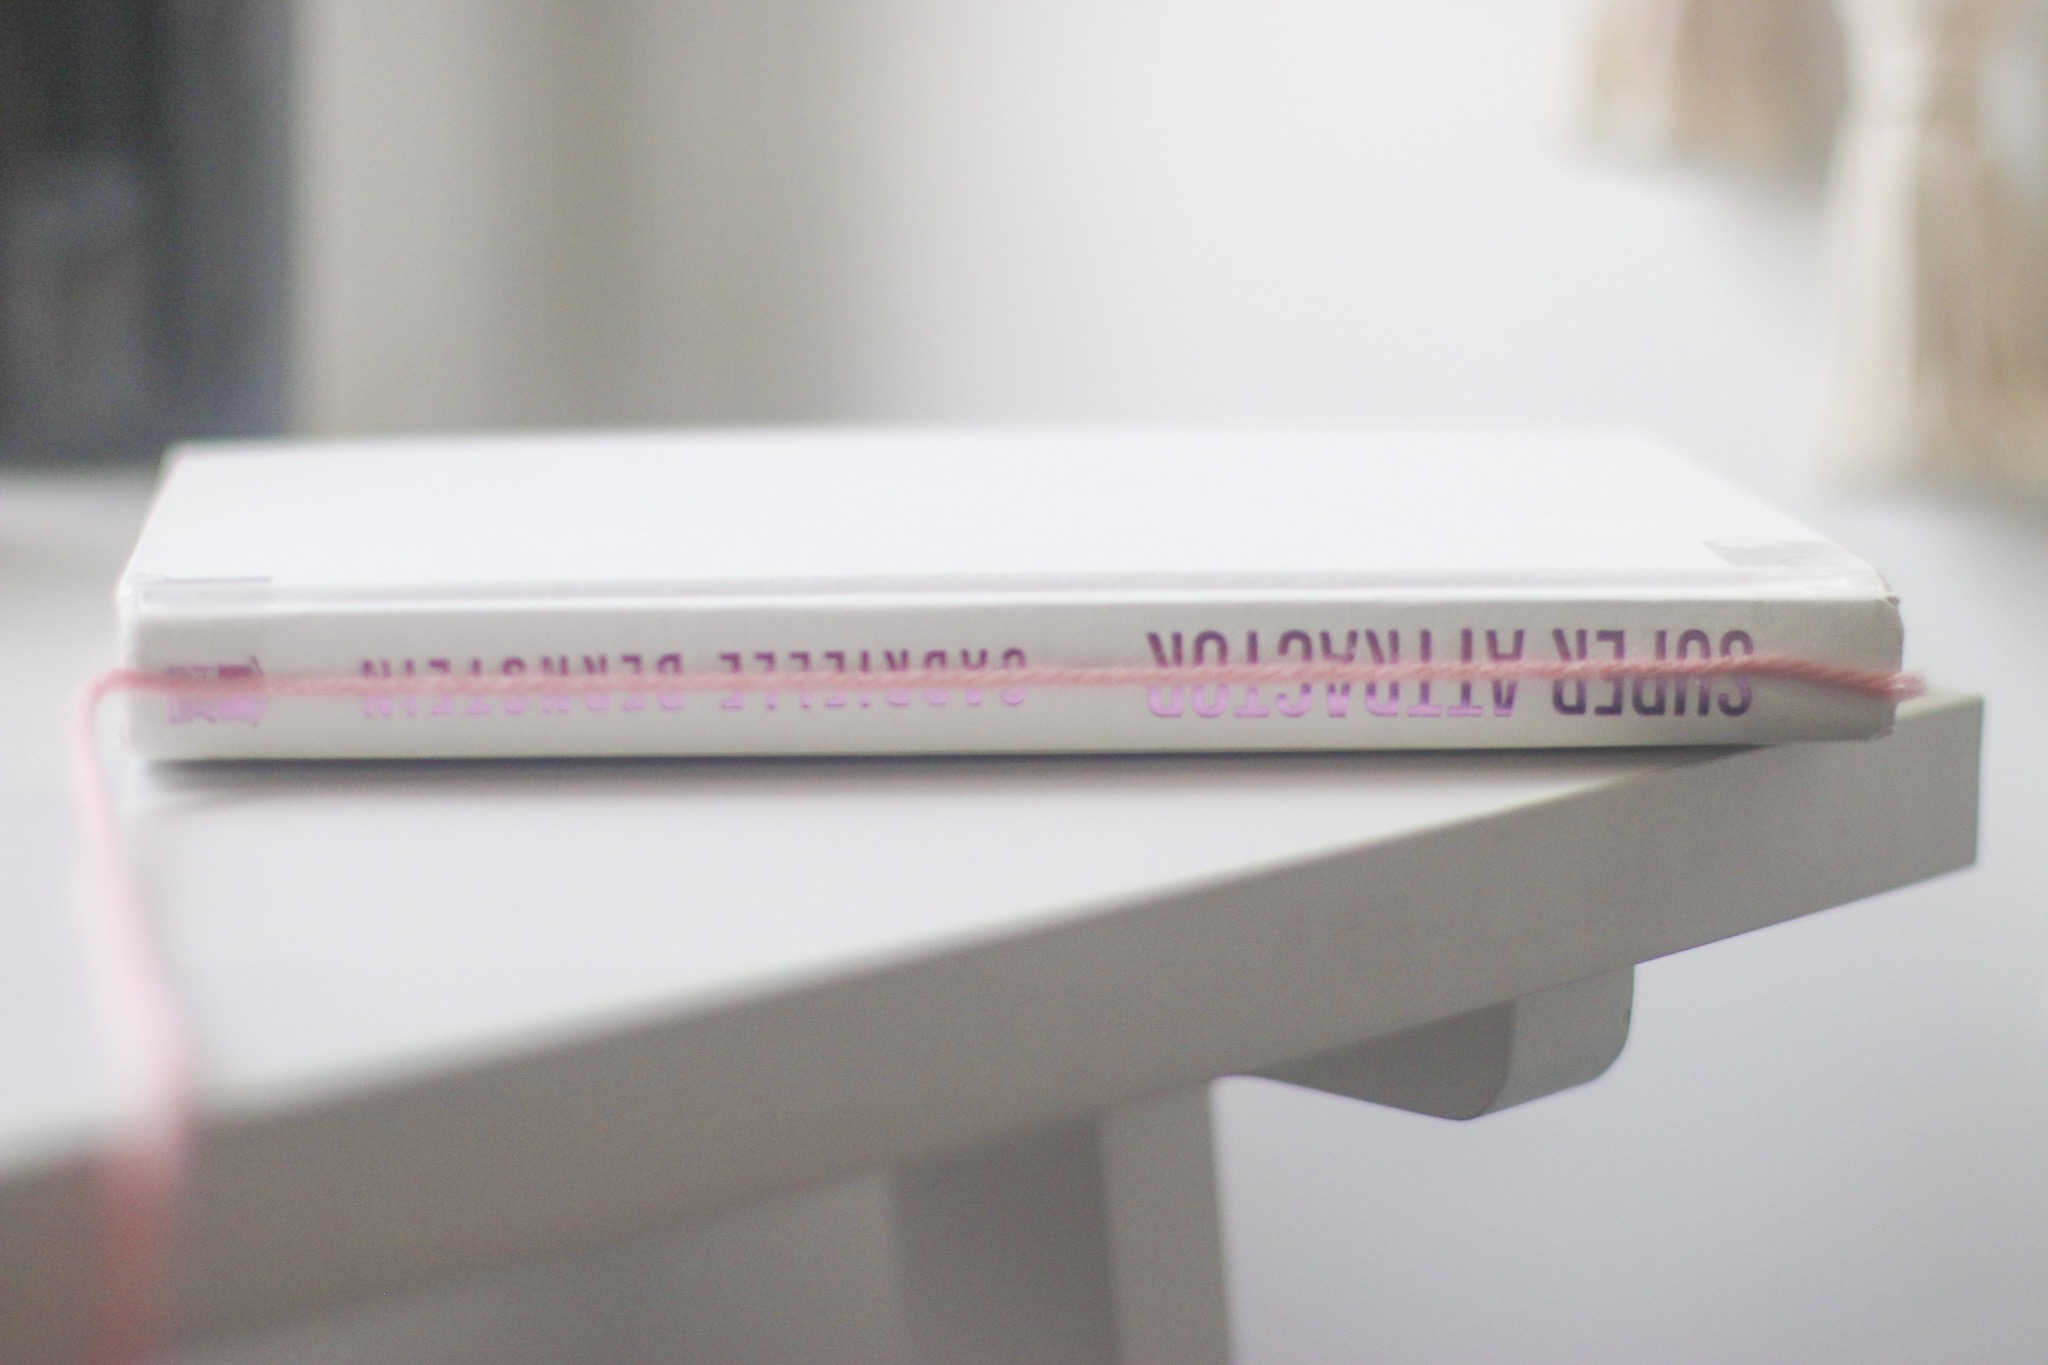
Step 1: Tape a piece of yarn to the spine of a book.
Grab a piece of yarn and tape it from one end of the spine of a book to another. For the book, I chose one that had a spine with the thickness of about… Once you tape both ends to the spine, cut the end of the piece of yarn and leave the taped yarn as it is.
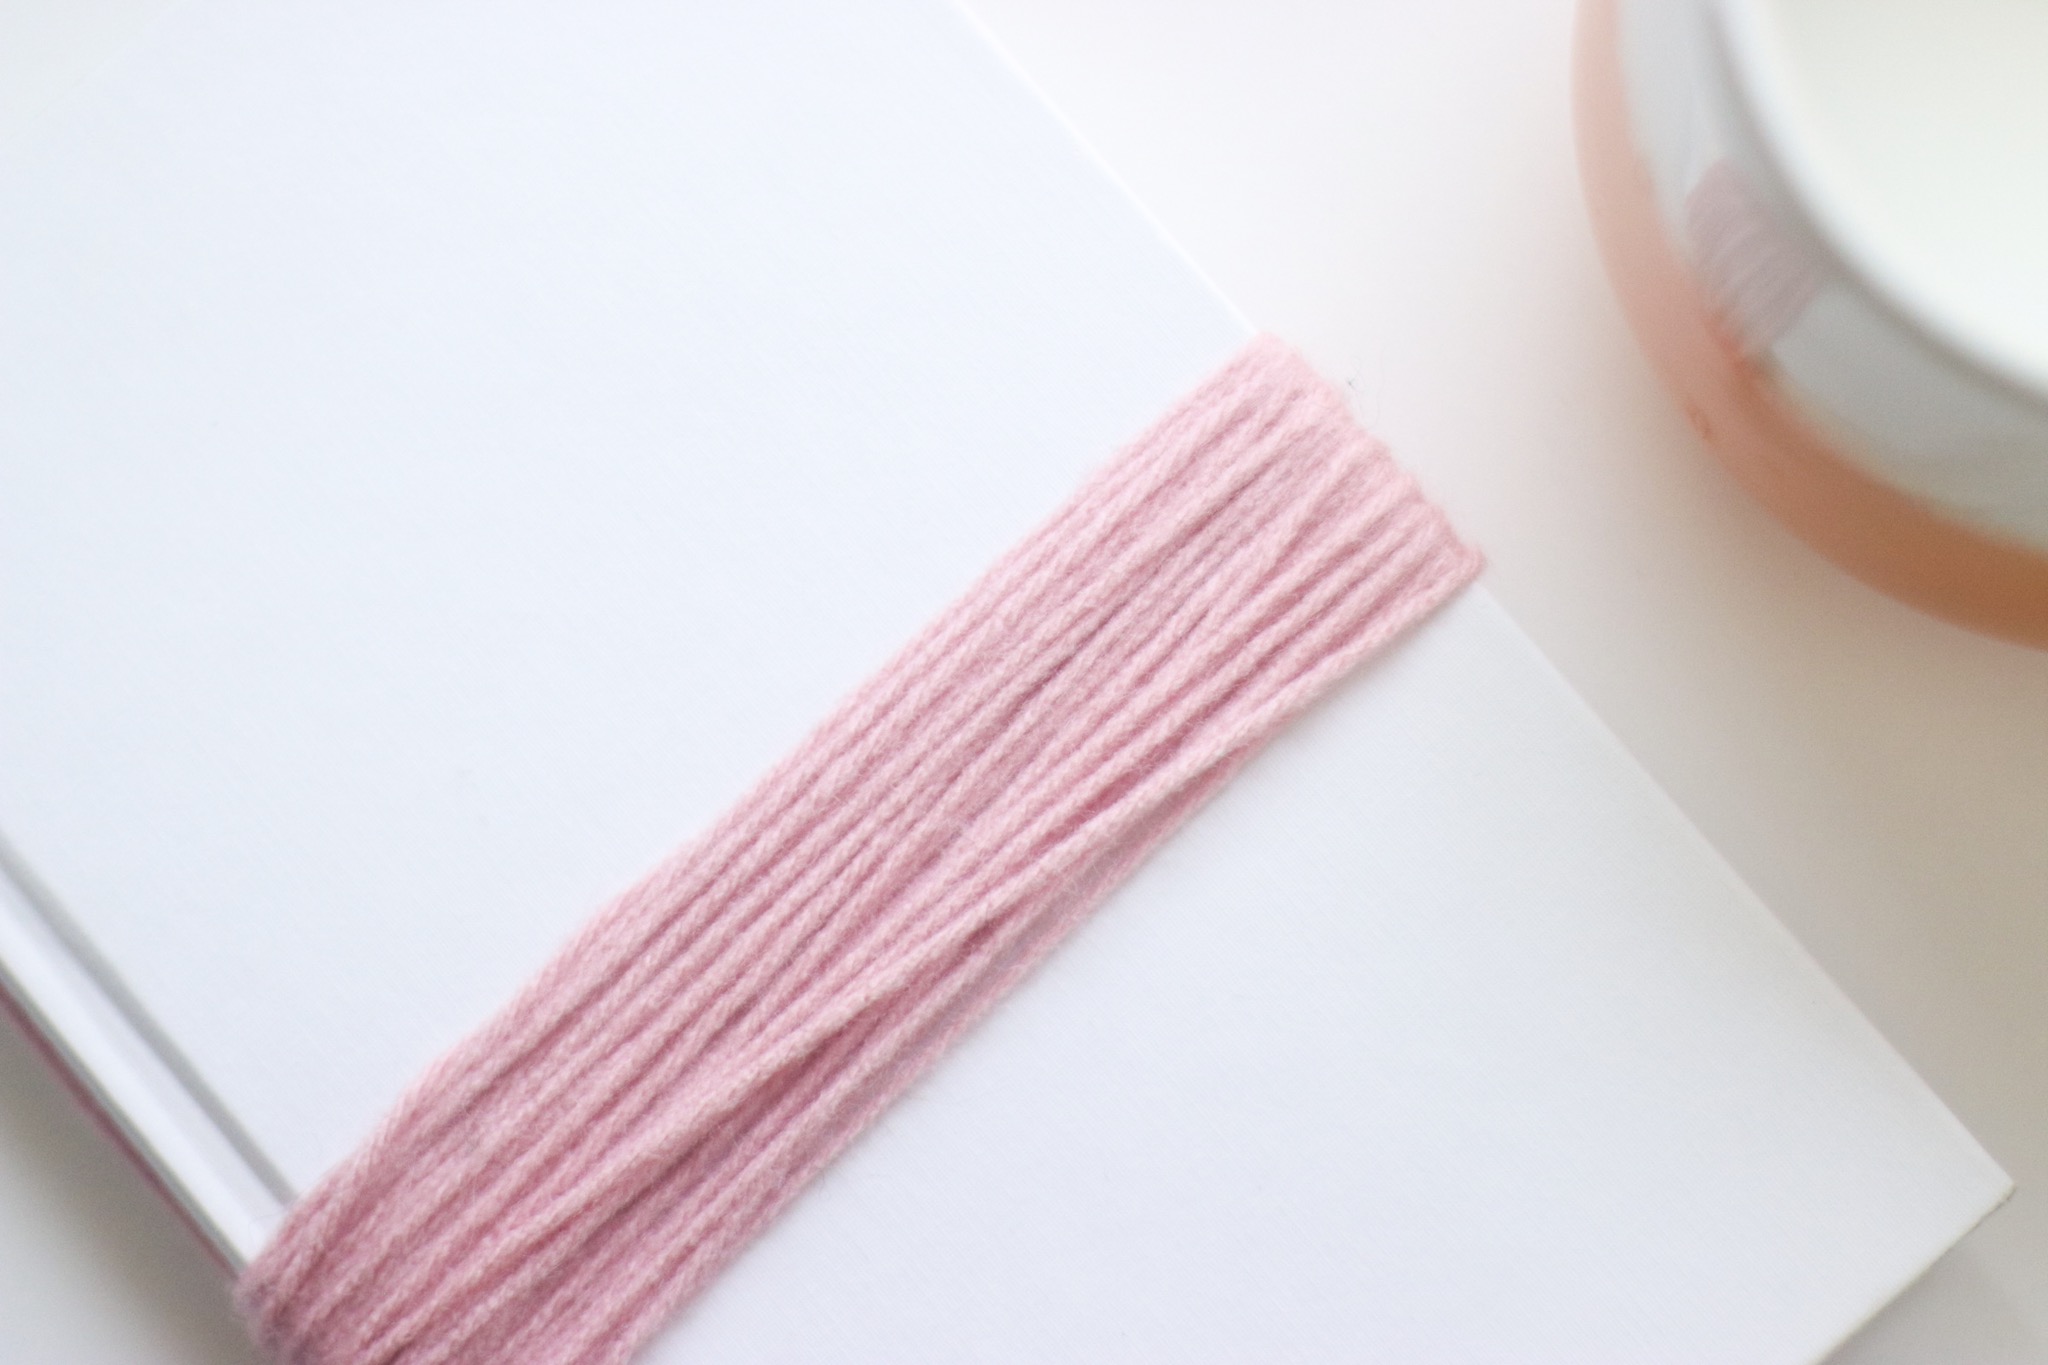
Step 2: Wrap yarn around your book
Now, take a new piece of string and begin wrapping it around your book. Make sure to count how many times you wrap your string around the book. You’ll be repeating this step for each garland piece. I wrapped my yarn around the book 25 times to keep it thick and even. 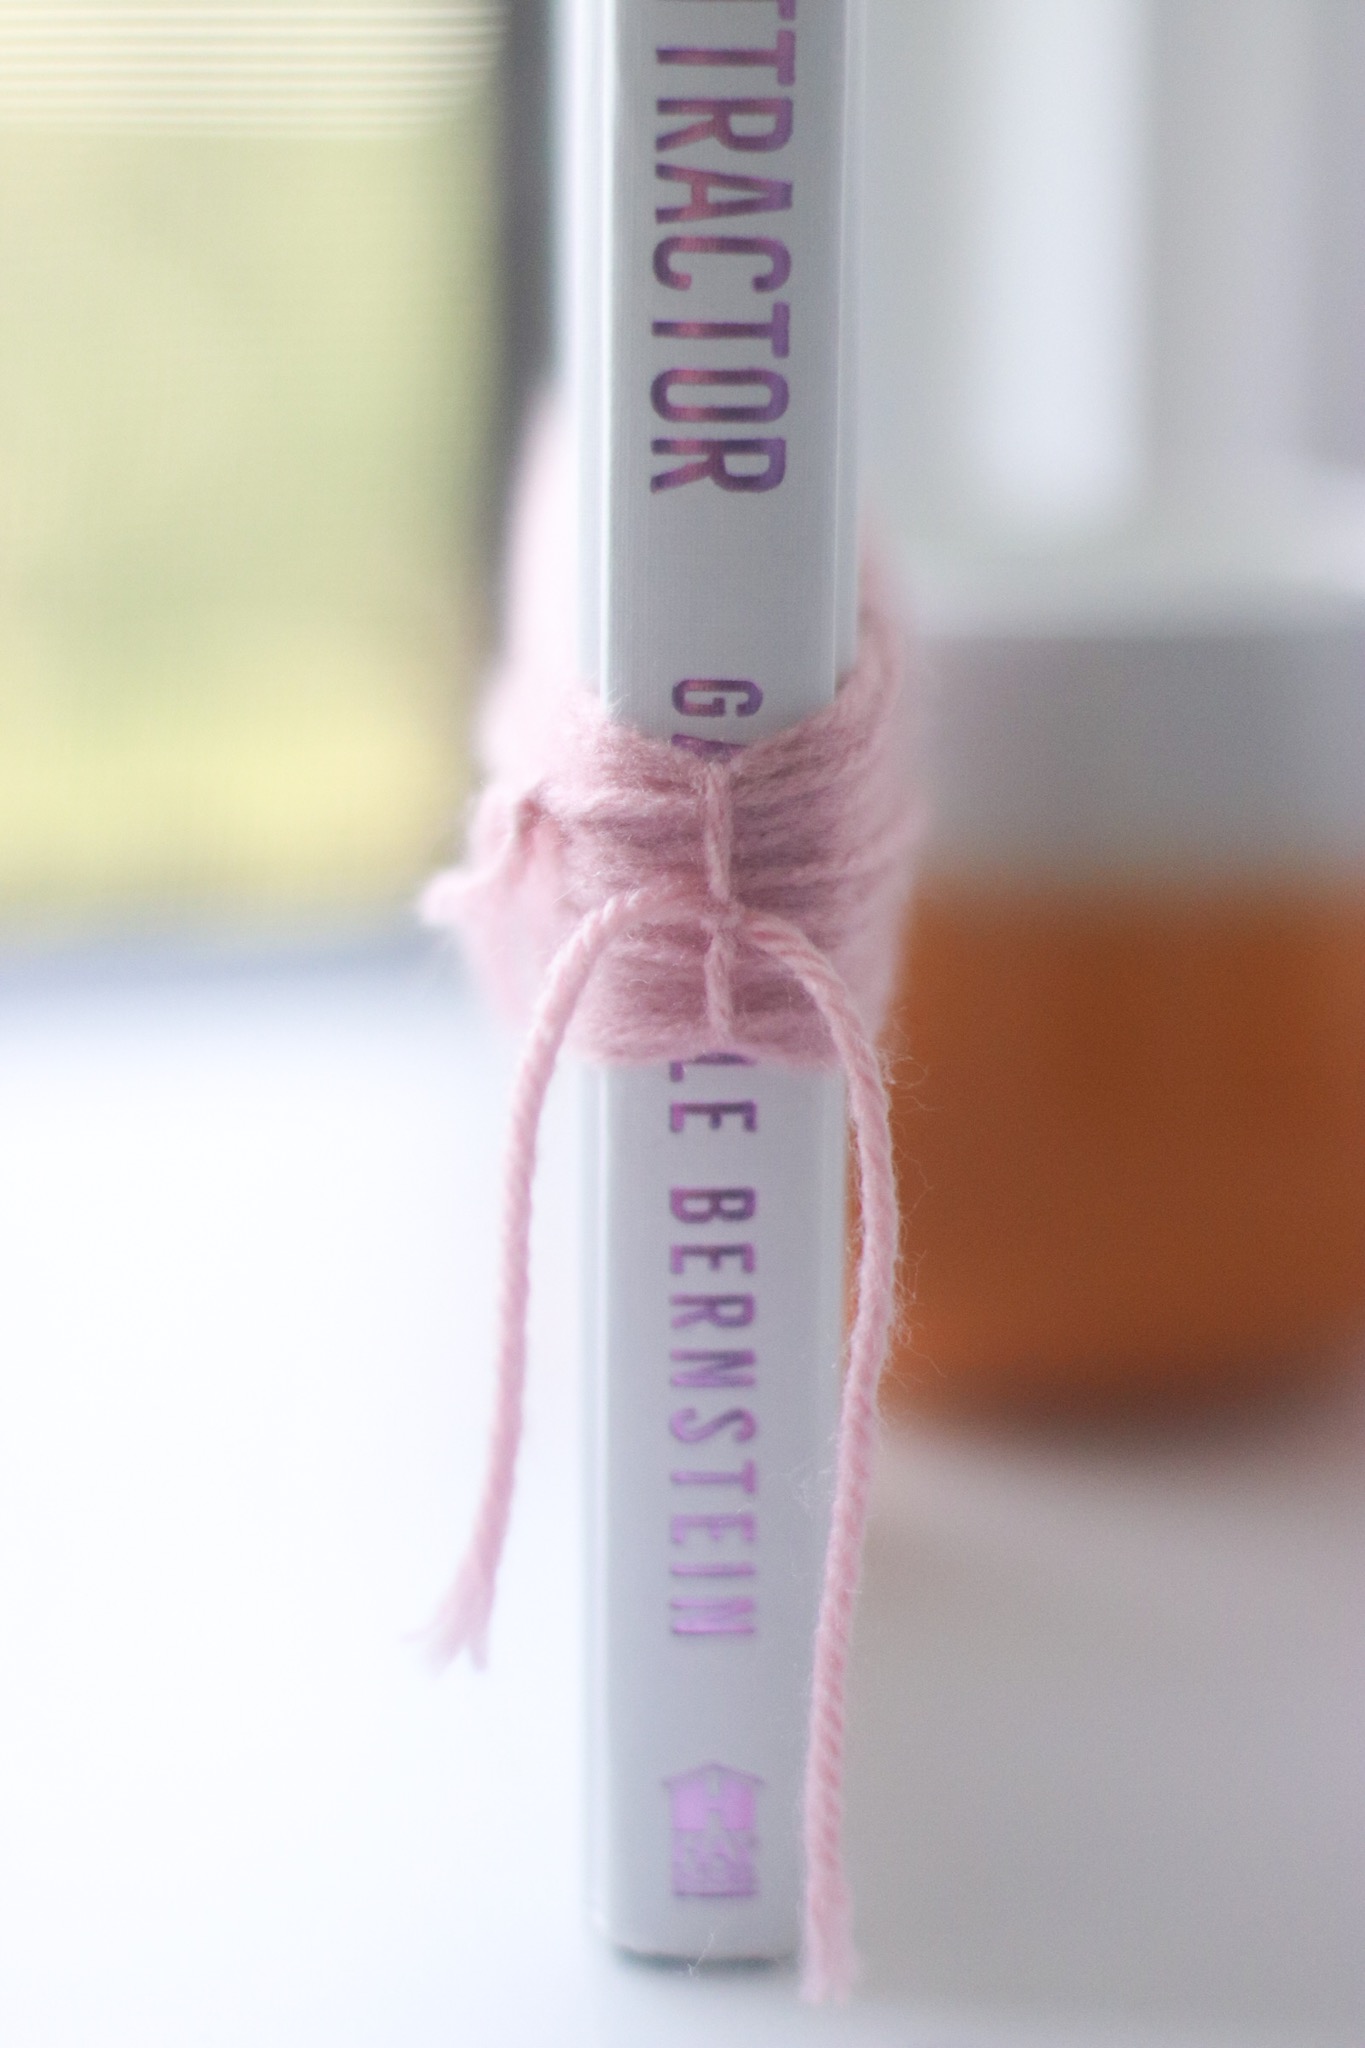
Step 3: Take the tape off of the yarn at the spine of the book & tie the string in to a tight knot.
Take the tape off of the string that’s taped to the spine of the book. Then, tie that string of yarn into a tight knot in the center of the rest of the yarn. The rest of your yarn should still be wrapped around the book like in the photo above.
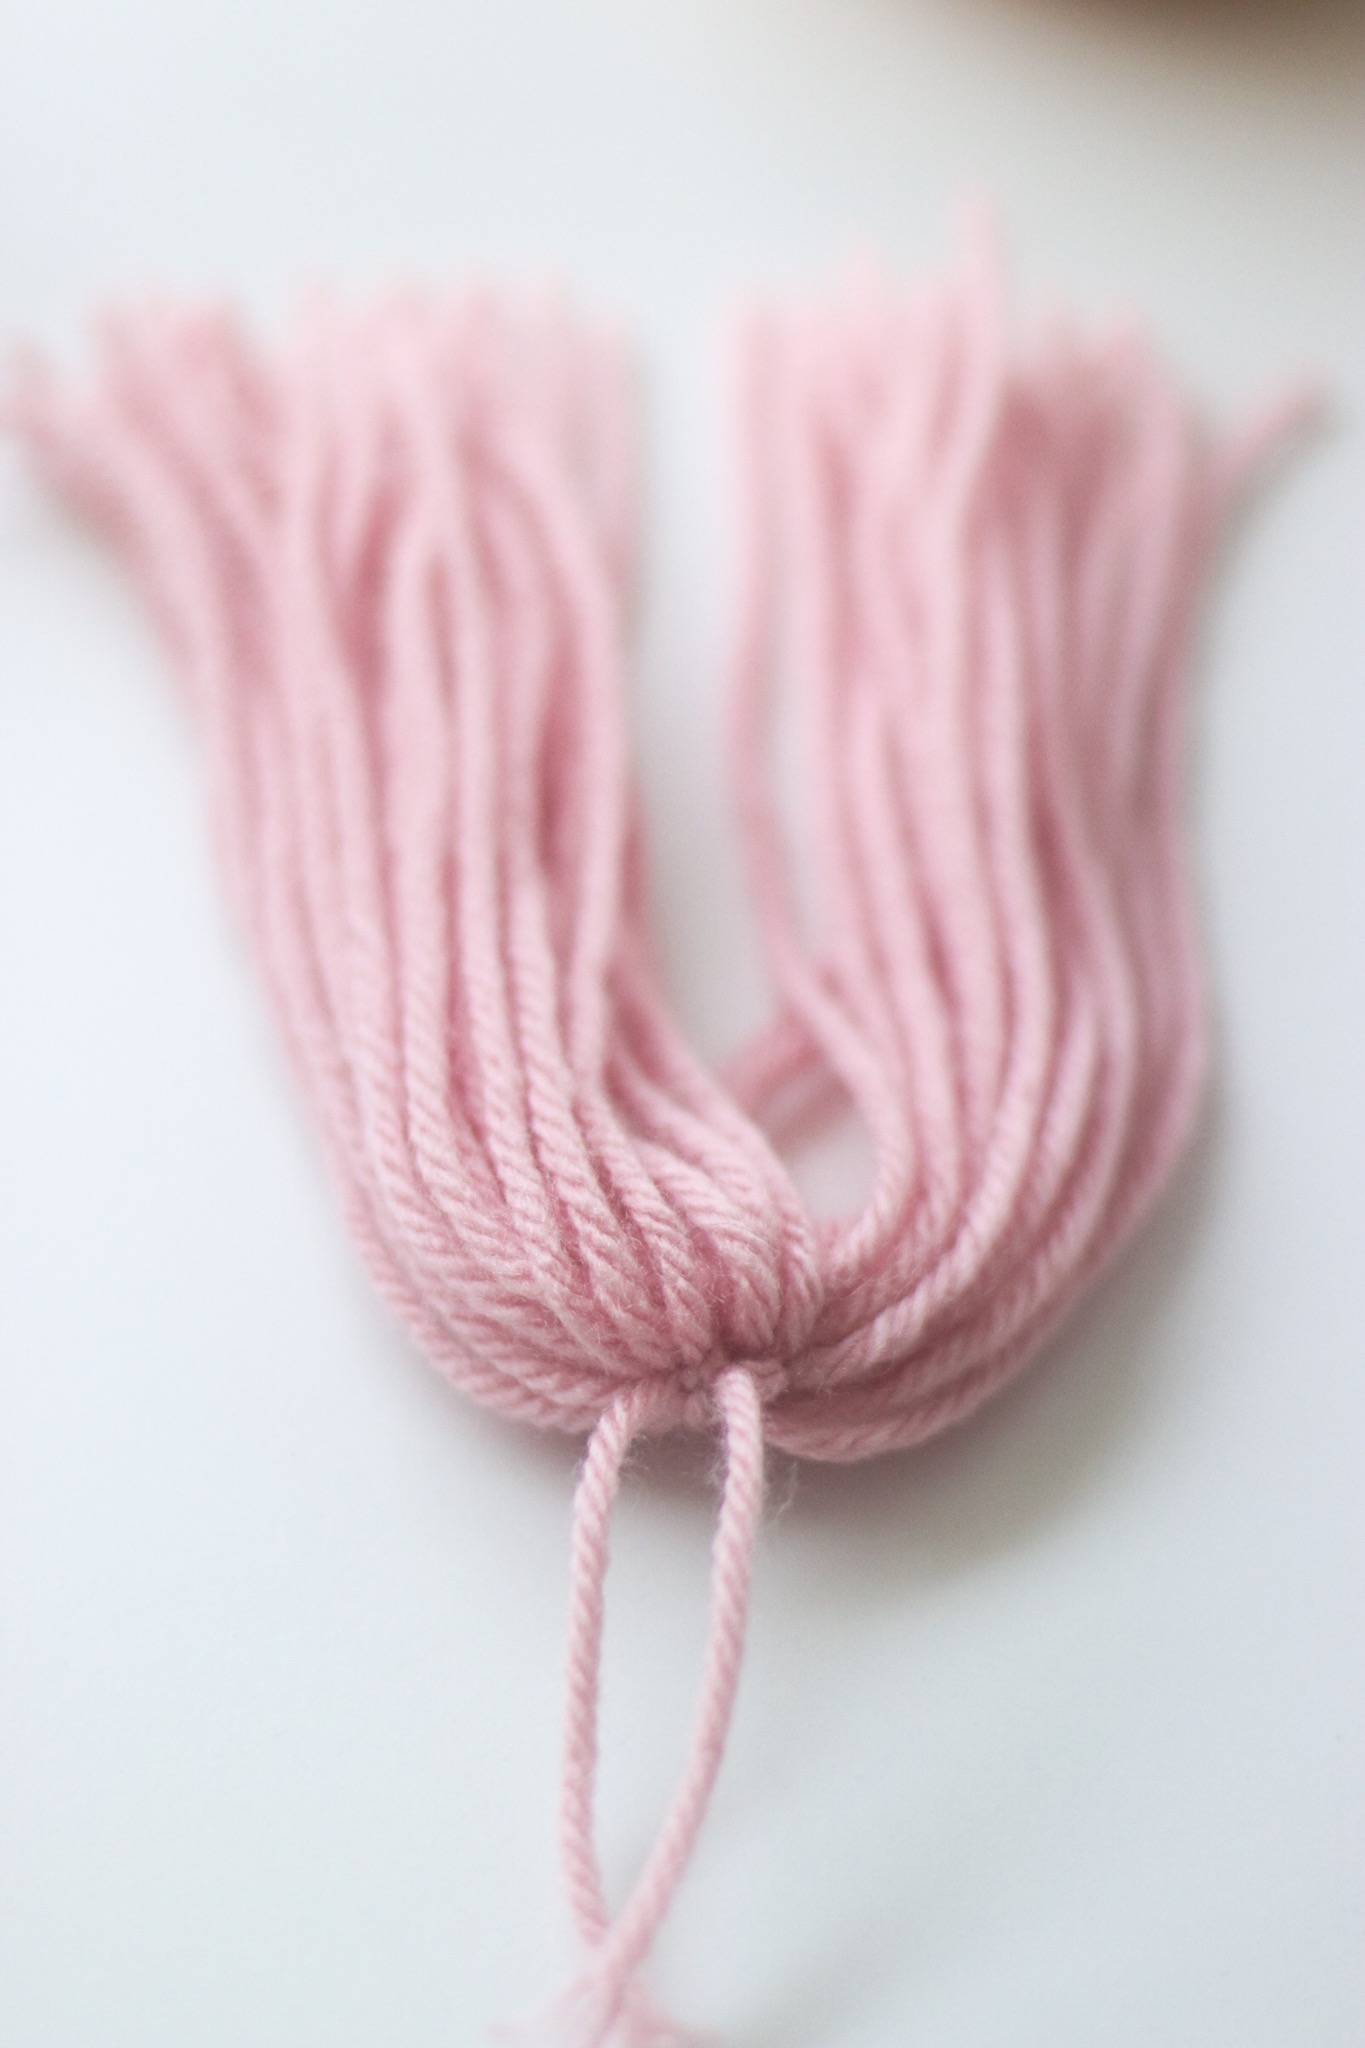
Step 4: Cut the opposite end of the yarn off in a straight line.
It’s time to cut the opposite end of the yarn. Make sure that you’ve tied the string into a knot in step 4 before cutting! I cannot tell you how many times I forgot to tie the knot, and ended up cutting the yarn too early! Cut the opposite end of the yarn on the other side of the book. Try to center your cut as much as possible.
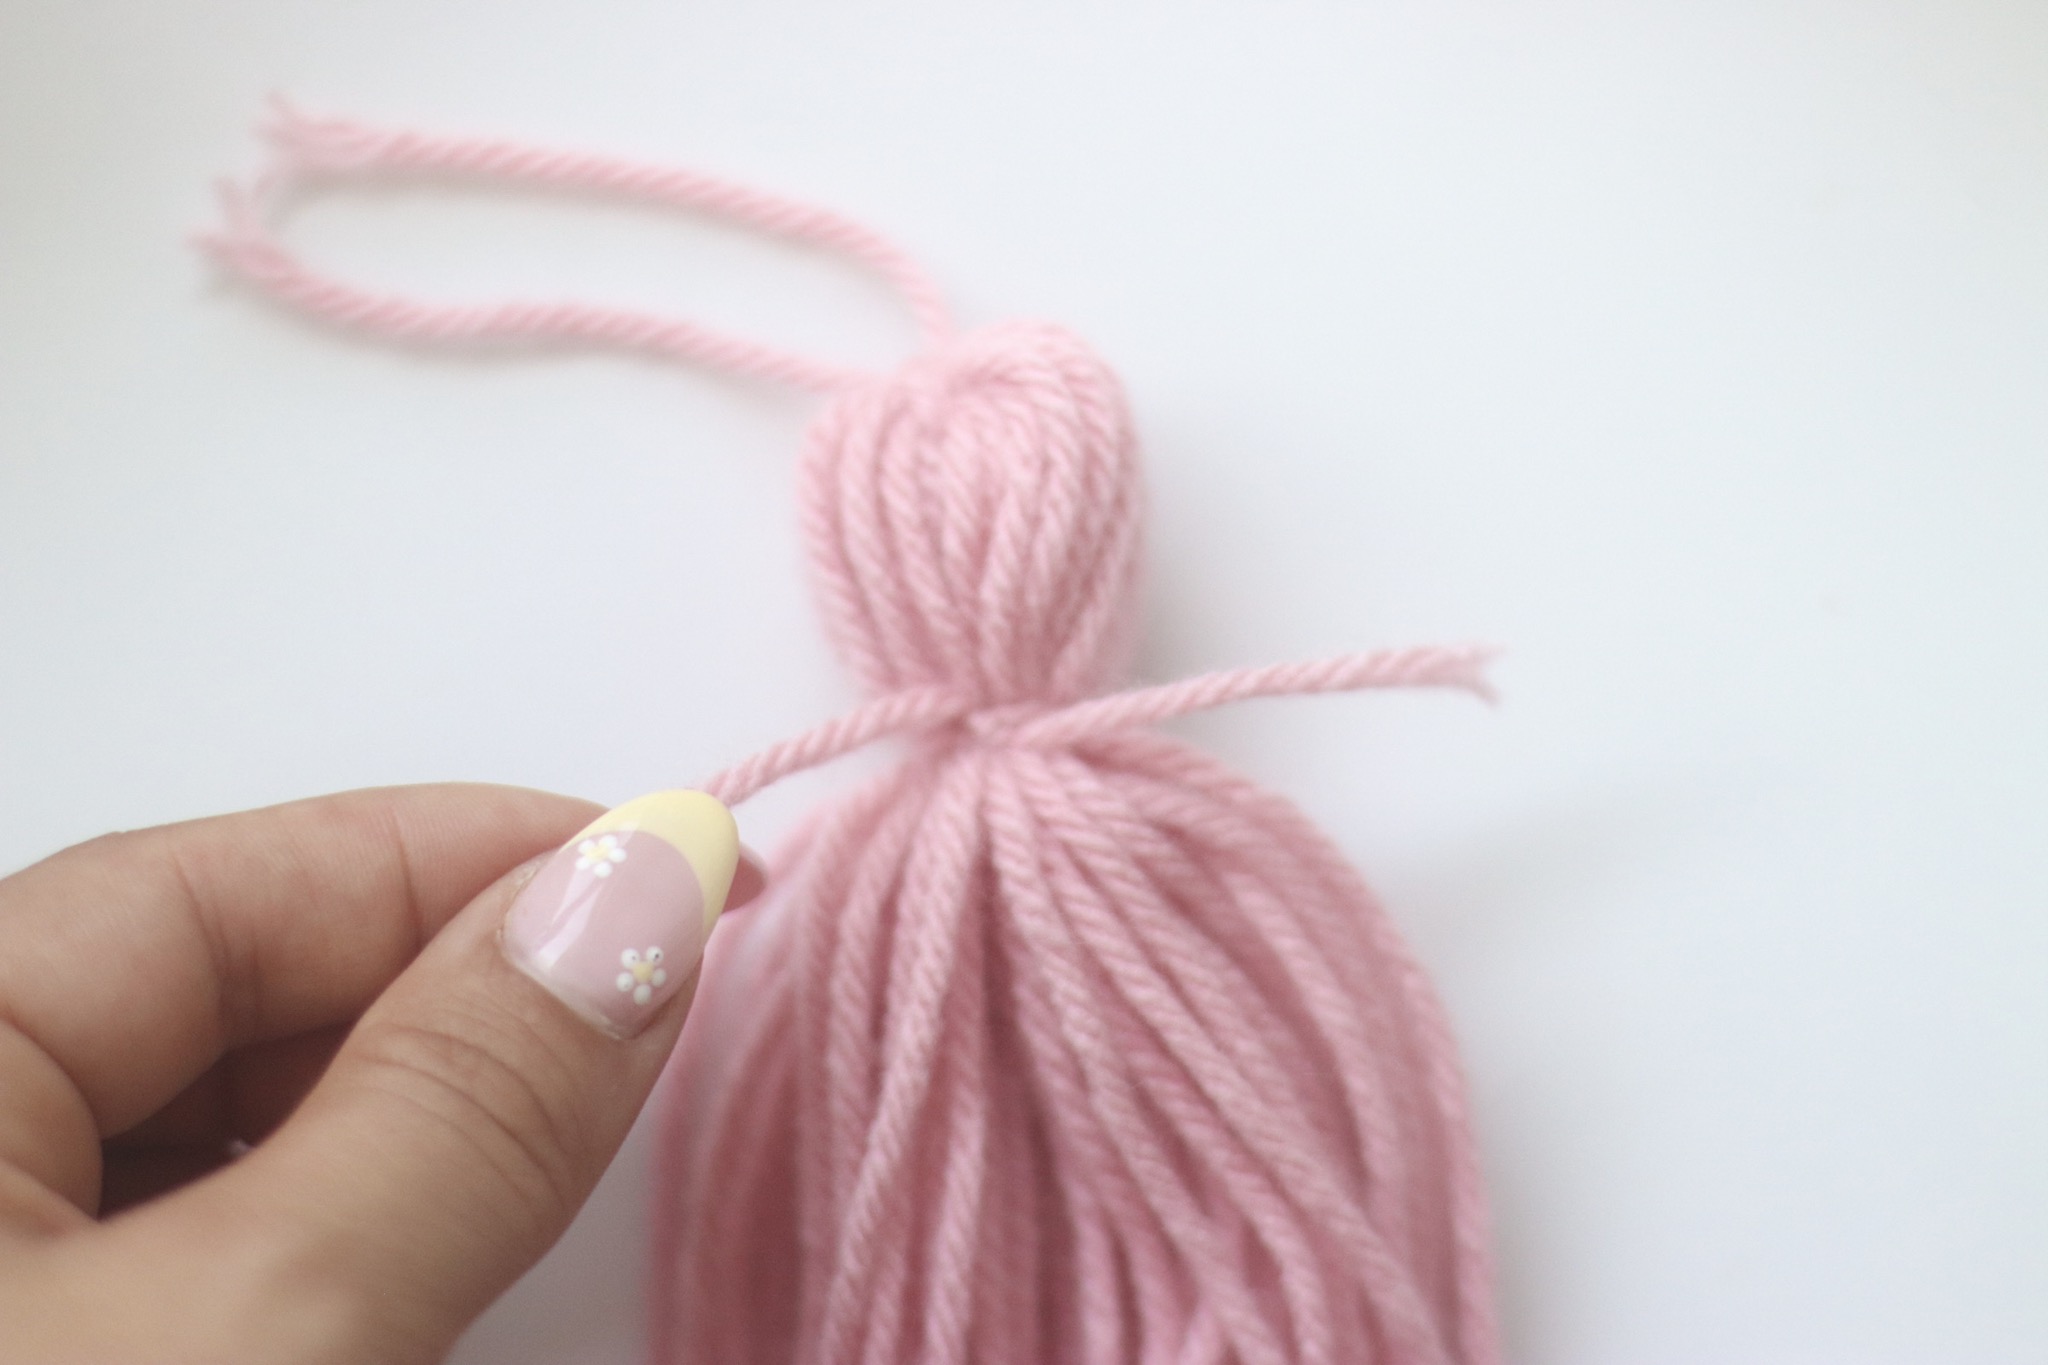
Step 5: Take a short piece of yarn and tie it in a tight knot near the top of the yarn.
Now, cut a piece of yarn and tie it in a tight know near the top of the yarn. This will create the head of the yarn that you see in photos. If you cut a long enough piece, you can match the end pieces of your knot to the rest of the strings to make it look neat and even.
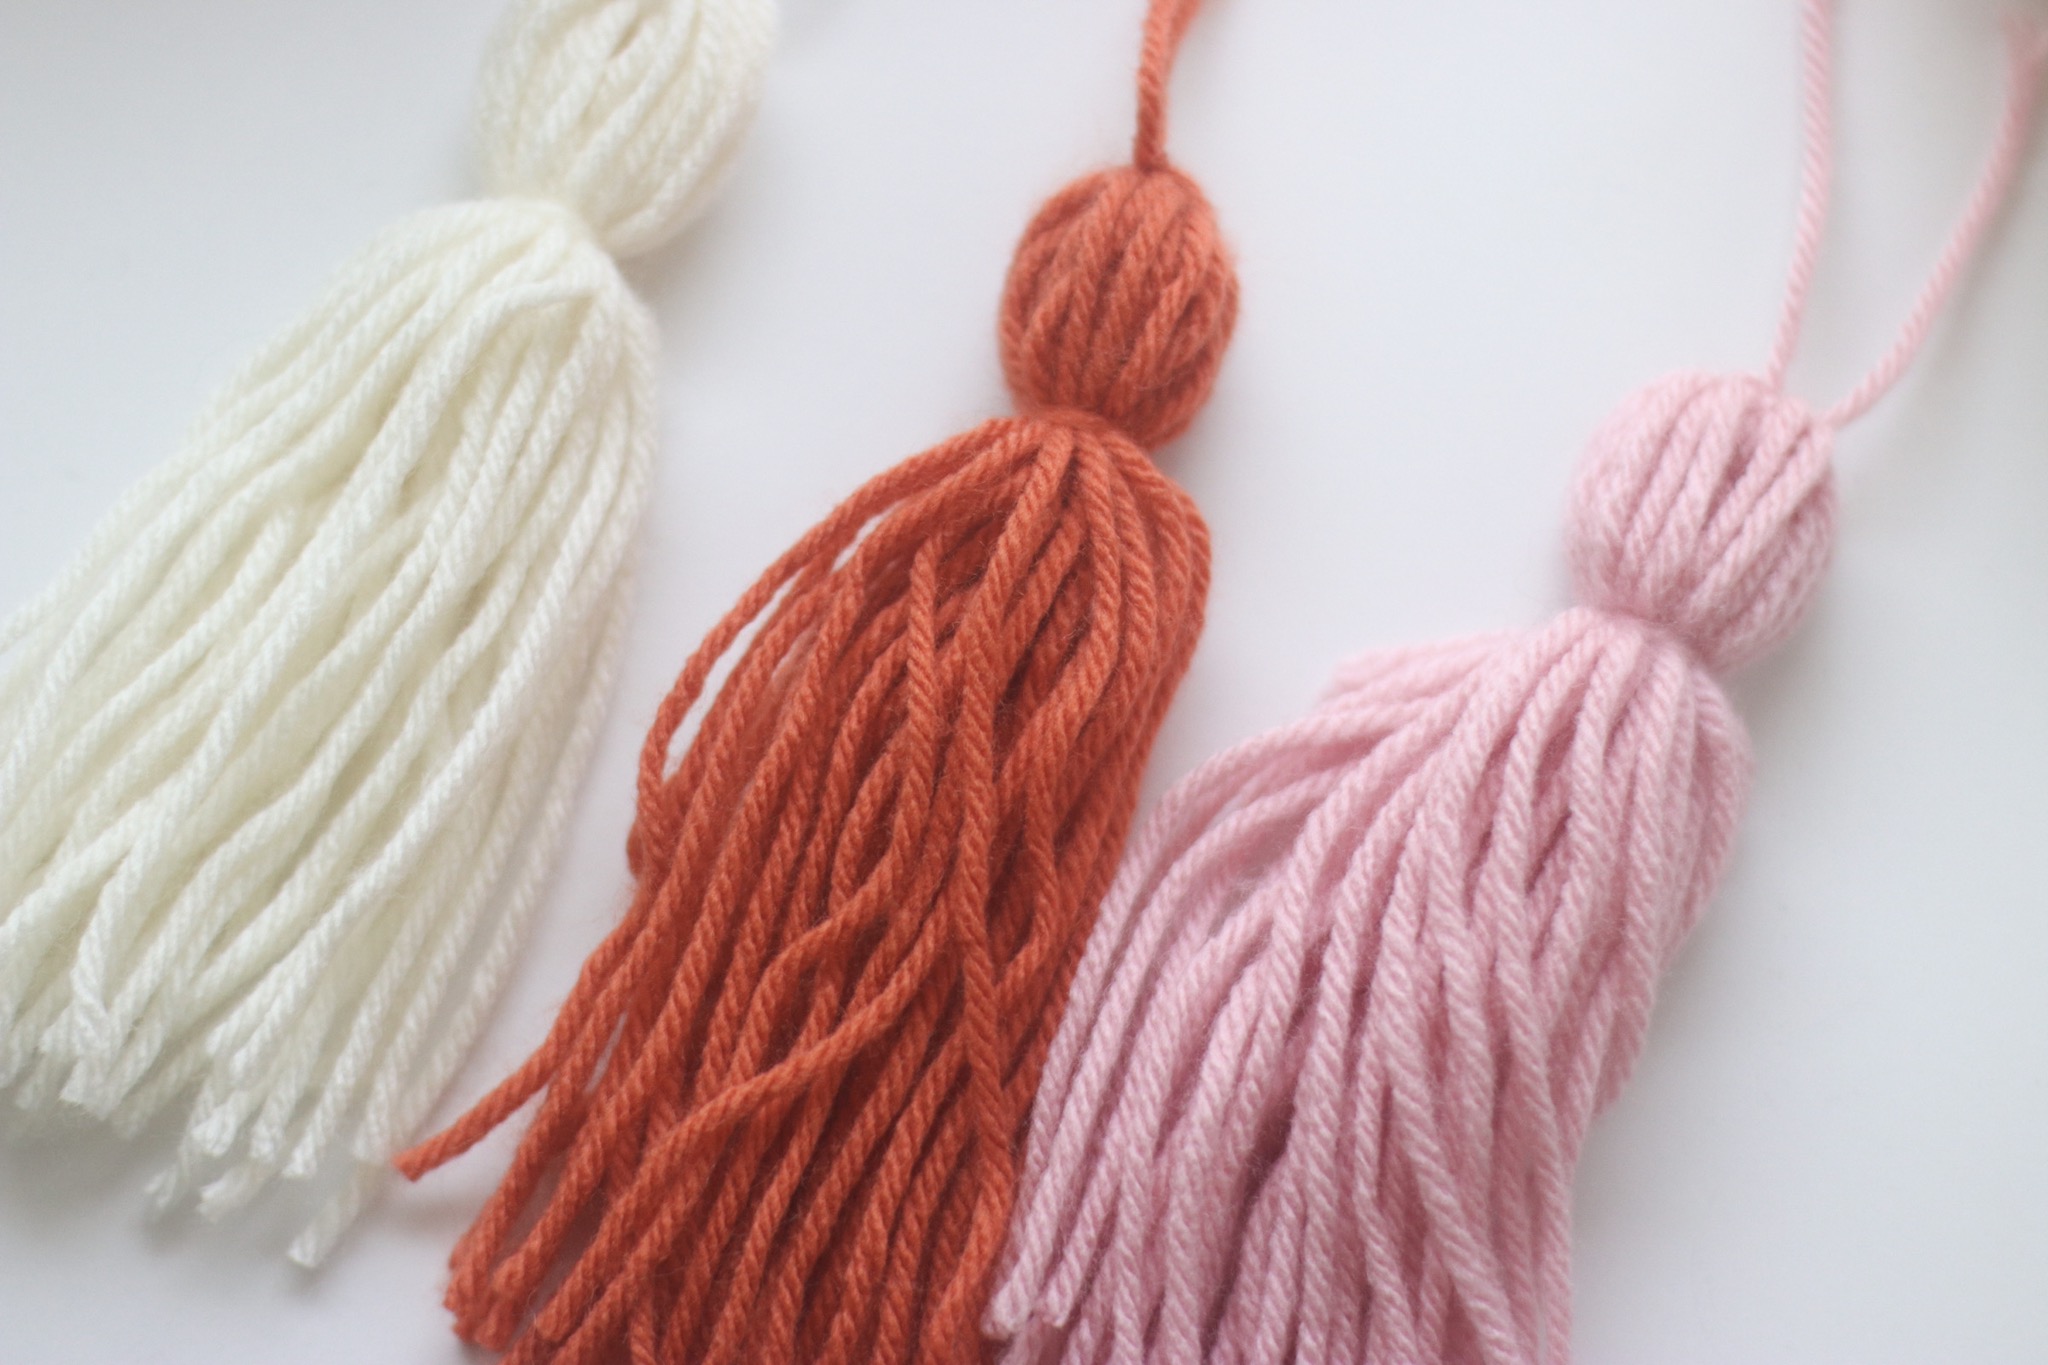
Step 6: Repeat the process until you’ve created each piece for your diy garland.
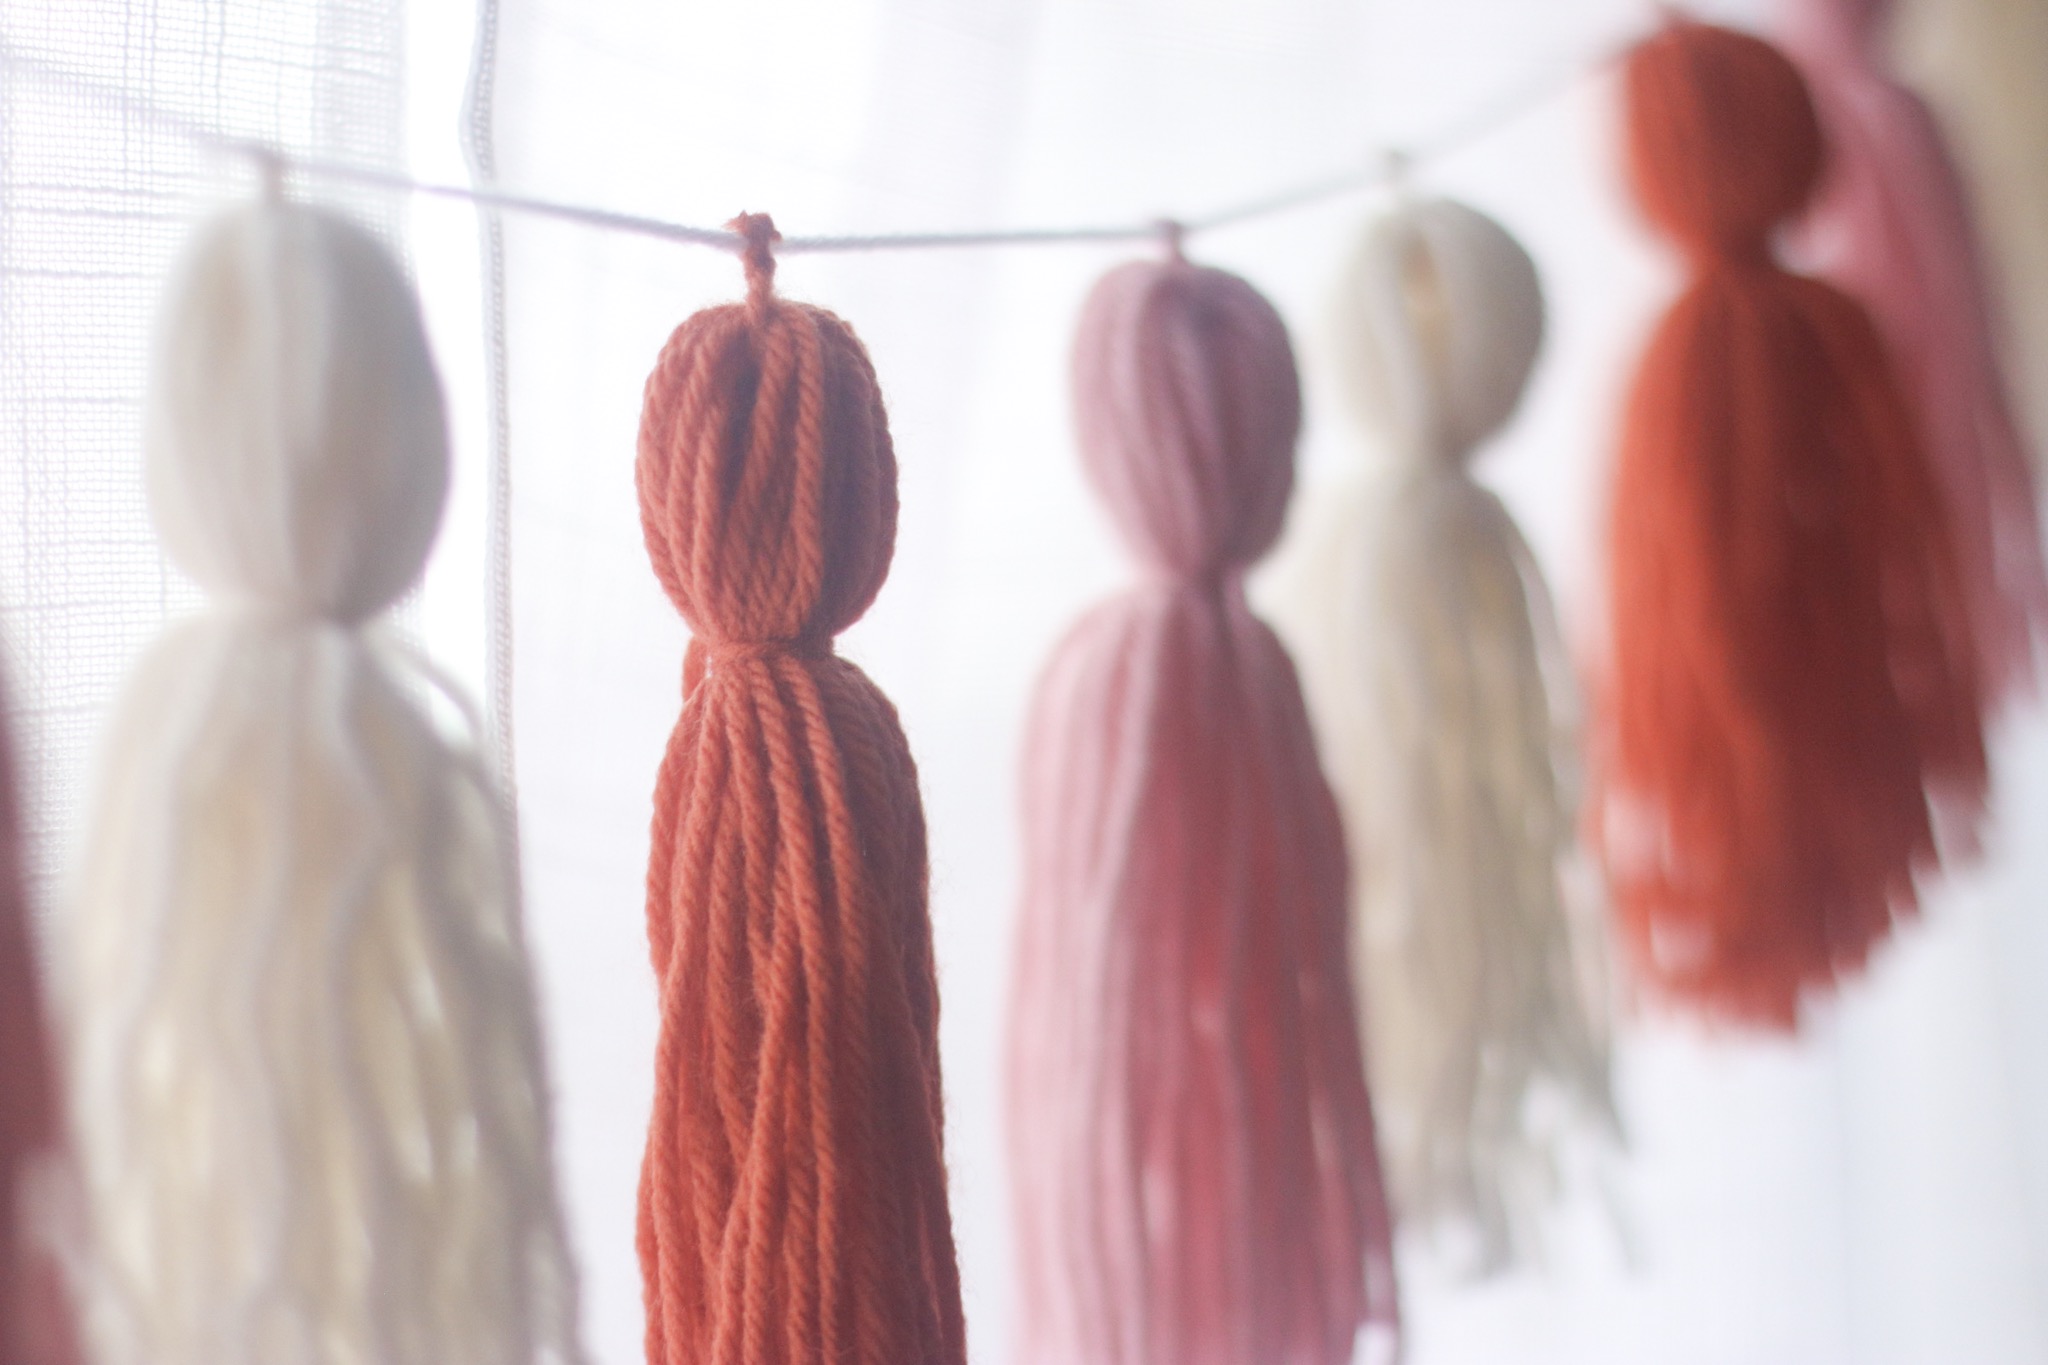
Step 7: Cut a long string of yarn for your garland. Tie the top of each yarn piece to your long yarn string and cut the edges at the ends.
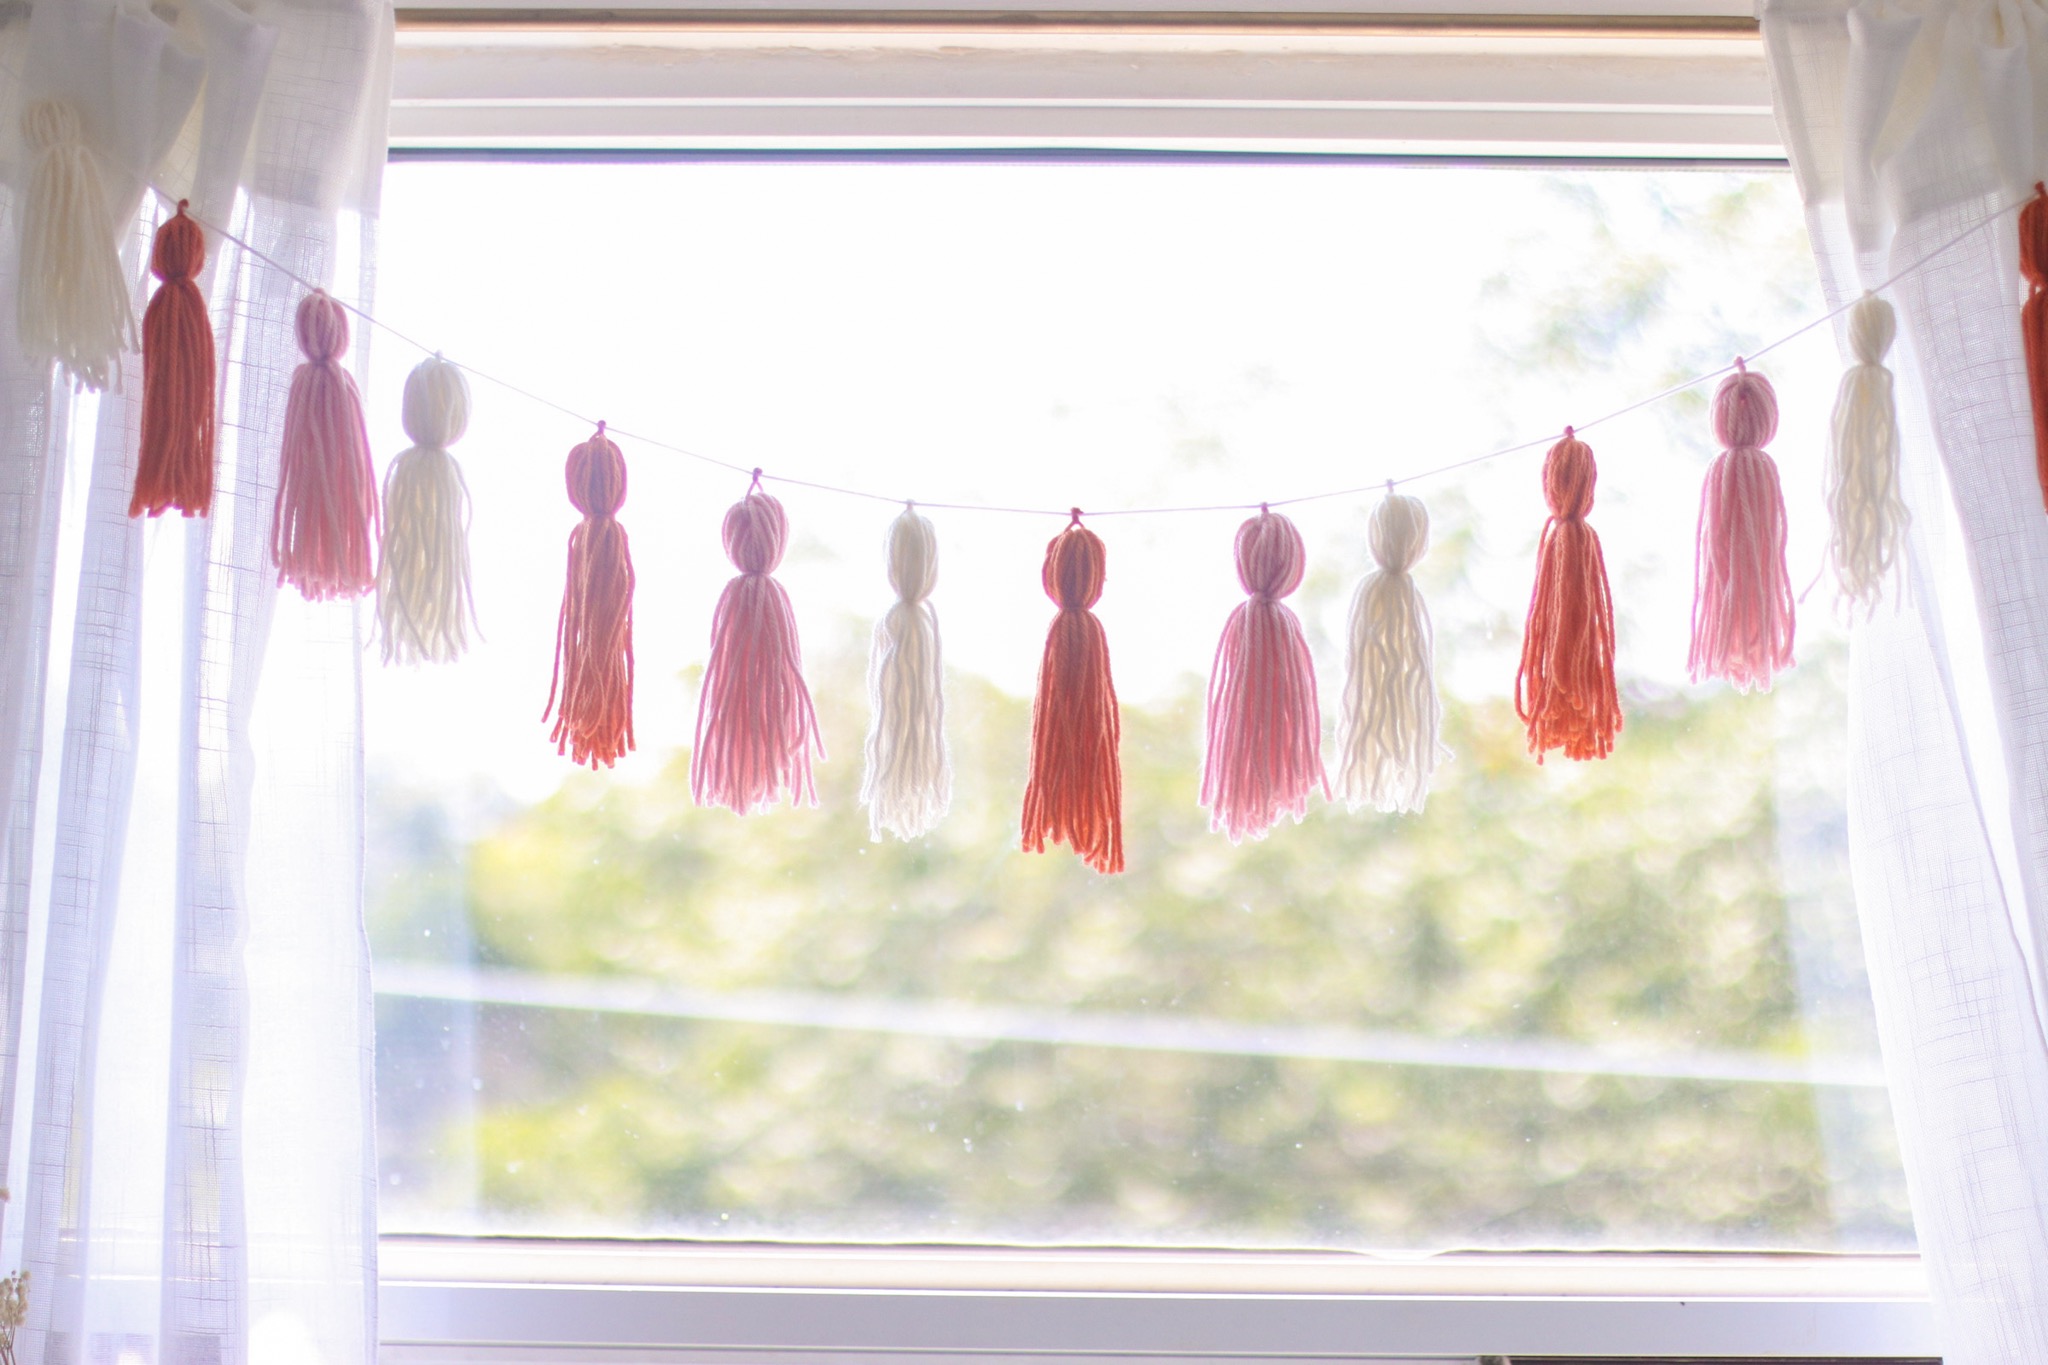
Step 8: You’re finished! Hang up your garland to in your space.


Leave a Reply